Showing posts with label new sellers guidebook. Show all posts

Monday, June 30, 2014

New Sellers Guidebook: Making the Most of the 5 Photo Limit

When listing an item, you are able to list 5 photos. However, for some products, you need more than 5 photos to show variations in colour, size, etc. In this post, I'll show you how you can make the most of the 5 photo limit.

The largest variation I have is colour. I have many colours of paper to choose from and ideally I'd like to be able to show swatches of all of them in the photos. I upload 4 photos of the item in different light and from different angles and for the fifth image, I upload a collage of all the colour options available.

Step 1: Take photos of all the variations you offer, and edit the photos to get them as true to colour as possible.

Open each of these photos individually. Make duplicates of each photo and save the duplicates with similar names. For example, I named each duplicate "ColourCollage" and I replaced the word 'colour' with the actual colour of each photo.


Step 2: Crop

I chose sections of each photo that best represented the true colour of the flowers. I tried to keep each cropped photo the same size.


Step 3: Collage time! 

I use Fotor, an online collage maker. It's free and easy to use!

There are different templates based on how many photos you want to make into a collage. I have 9 photos, so I'll be using a template in the 8+ category.

Here's the Fotor editing screen. Remove the sample photos by clicking the X in the upper right hand corner of each, or clicking on the image and clicking "Remove Image" in the pop-up menu.

To the right hand side of the screen, you will see the Add Photos toolbar. Remove the sample images, and then click Add Photos and select the location of your photos. In my case, I clicked "Computer". 

Once your photos are uploaded, simply click the photo and drag it over to the collage template. You can then rearrange them on the screen to your liking.

Step 4: Add text

At this point, you can either leave the collage as it is, or you can add text indicating the colour/variation of each photo in the collage.

You can choose to continue on Fotor and add text there (this requires making an account) or you can save your photo and edit it on another website. This is what I'm choosing to do.

I used the Pixlr Editor.

When you visit Pixlr's website, you have 3 options to choose. I'll be using the one on the far left, the Pixlr Editor.


This is the screen that will pop up. Choose "Open image from computer". You'll be able to locate and select the image you'd like to edit.

Your photo will appear and you will be able to add your text. On the toolbar on the left hand side, you will be an A at the bottom. This is the tool that will allow you to add text.

Step 5: Save!

Save your image, and now it's ready to be the fifth photo on your listings!


Let me know if you have any questions about using either Fotor or Pixlr!

-Morena


New Sellers Guidebook: Taking Great Product Photos Outdoors

I'll preface this post by saying that I am not a professional photographer, nor have I taken any photography courses. I use a Canon Rebel T3 DSLR camera with a kit lens. While it is my preference, I have taken great photos with regular point-and-shoot cameras. The key to great product photos is editing.

For general editing purposes, I use the minimal editing tools available on iMac when you preview a photo. For Windows users, Photo Gallery, or free online editing websites (pixlr.com) can also work. Pixlr is a website that I use to add text, remove backgrounds, etc.

Step 1: Photograph on a sunny day with low wind.

Today's photo shoot took place in my backyard on a partly cloudy day.

I like to photograph my flowers on days with lots of sunshine. It's partly cloudy today with some wind, meaning that I can take photos in full light, and in shade.

Step 2: Choose a background/back drop in a sunny location

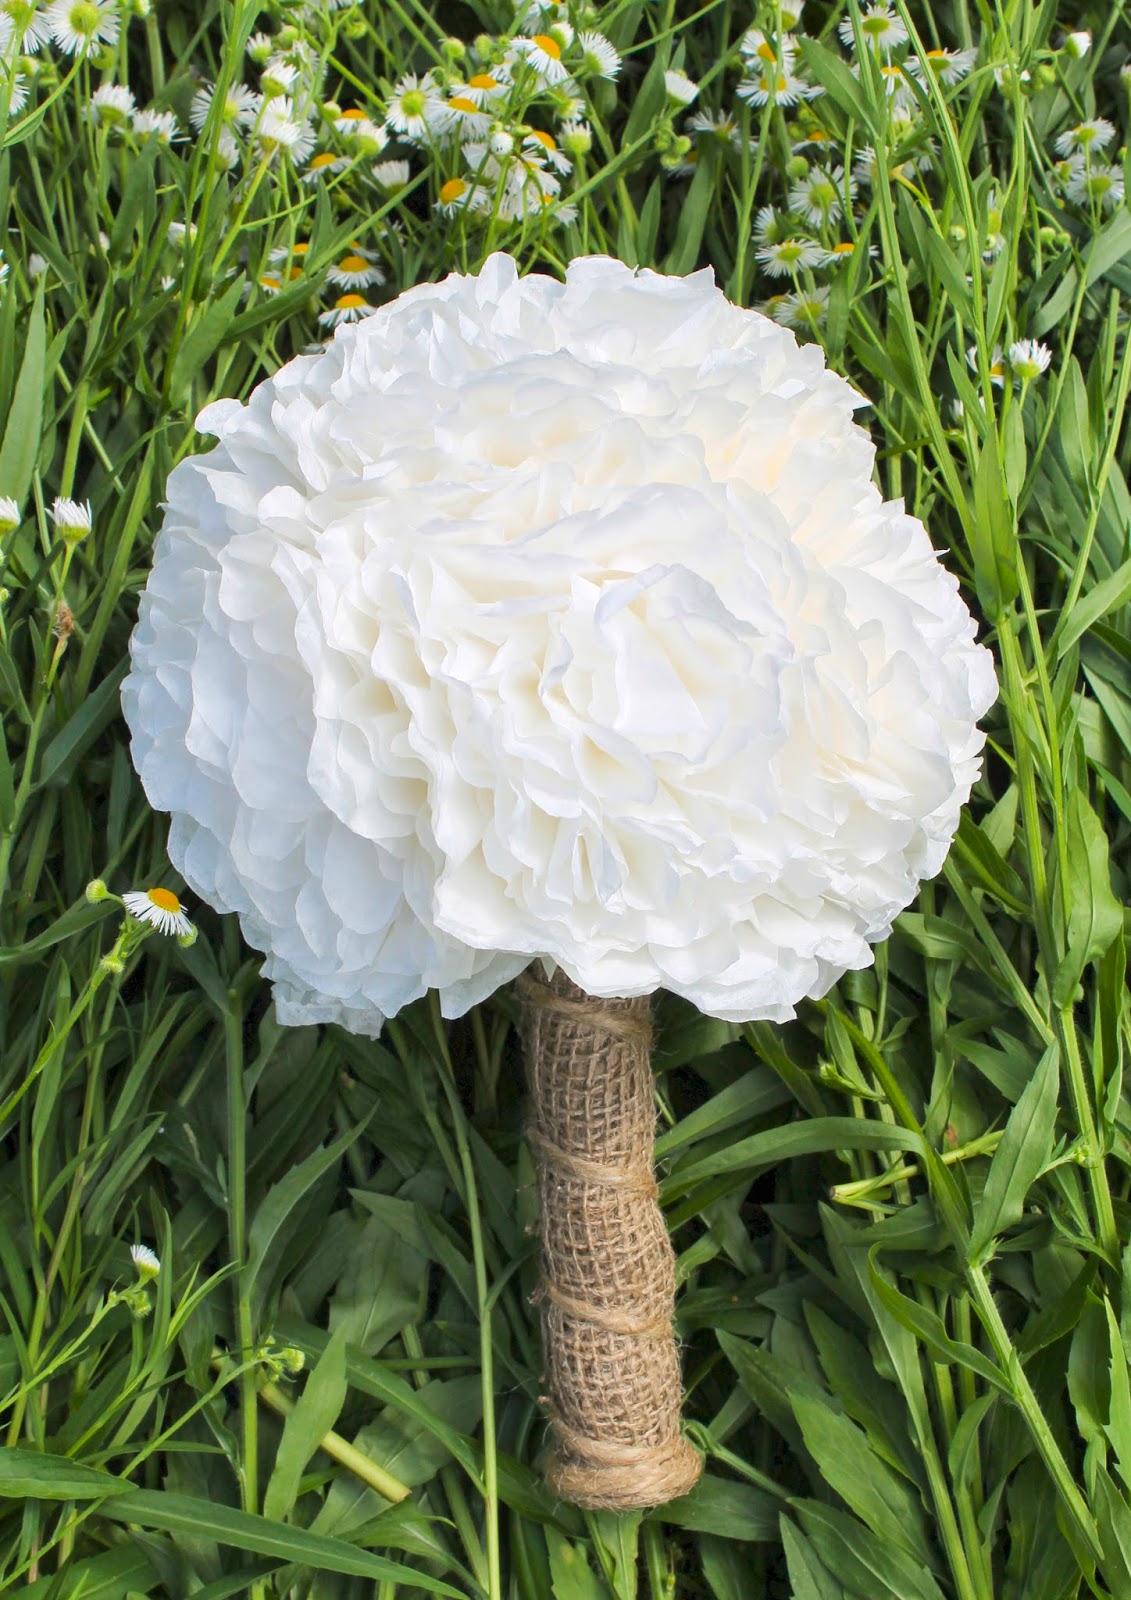
I photograph flower bouquets on their side, so I can either photograph them on the grass or I can create one. If the grass is really long, I will use it as a background, but today I'll be using these wild flowers I found.
I cut all of these wild flowers to about 3 feet and placed them in a neat pile on the ground. I like using flowers and grass as a background because they blend nicely with the natural fibres of the paper and burlap.

I continued adding to this pile until I could not longer see through to the ground
Step 3: Place your products on/in front of the background

Centre the item in the shot and leave some space around it in the frame. This will give you room to crop if you need to. I usually take 3-4 photos of each item in different light and angles. Taking more than 5 photos of each item (unless it has a lot of angles) can be overwhelming when you edit them, so take only as many photos as you need, and delete the ones you don't like before you upload them.
Step 4: Upload photos and rotate them as necessary. Editing time!

Before editing, make copies/duplicates of all the photos first so you can start over if needed.

First, I cropped this photo so that the bouquet is the centre of attention. Next, in the "Tools" tab, I chose "Adjust Color". A small menu will pop up if you're following along.

I increased the exposure slightly, took away some of the shadows and increased the contrast and saturation very slightly. As you make these changes, you'll be able to see what your photo looks like with each one.

This photo is brighter, the shadows have been reduced, and the colour around the bouquet has been intensified.

Step 5: List your items

Once you have finished editing your photos, you can list your items. Make sure to keep some of your "raw" photos so that you can show what the items look like naturally without any editing.

Let me know if you have any questions about taking/editing photos!

-Morena


Friday, June 27, 2014

New Sellers Guidebook: Listing an Item

Listing an item for the first time can be a little intimidating. Here's a step-by-step look at how to list your first item.


From the homepage, hover over the link to your shop and a drop-down menu will appear. Select "Add New Item"


This will take you to the List an Item page. Here, you will answer the questions about your item, such as who made it, what it is, and when it was made. You'll also place it into a category and state whether it is a physical item or a digital file.

The last option in the photo above asks whether you would like to accept custom orders. This is completely up to you, but it should only be checked if the item you are selling can be changed in any way (ex: colour, size, amount, etc).

Next, you have the option to include Variations. These include properties such as colour, size, pattern, etc. This is optional, and can be quite useful if your item can be customized. Once you choose a property, you will be able to include all of the options you have available. Currently, only two variations can be added.


The Photos section allows you to add 5 different photos of your product. Make sure to include photos in different types of lighting. If you have different variations, this is where you can show what the different options look like. If I offer many different colours, and if I offer the option to order several different colour combinations, I leave the Variations section blank, and instead I include a photo of the variations.

The first photo will be the main photo. It is the photo that will show up in all search results and is basically the photo representing your item. Try to choose the best looking one. You can rearrange the photos at any time.

The Item Title section is more important than it seems. This is where you have 140 characters to describe your item to potential customers. Lately, I've been trying to keep the item titles short and easy to read. However, I have found that longer titles with keywords can also be effective. The words in the title are important because if someone searches for something worded similarly, you item has a better chance of showing up in the search. 

The Description section is important as well. This is where you have a large space to describe your item. I start by stating exactly what the listing is for. Then I list the measurements in both metric and imperial. I also describe how they can be used and instructions on how they can tell me which colours they'd like. 

I clearly state how long it will take to process the order and how they will be shipped.

I also like to keep the description short as not everyone wants to sit and read a long description. If this is the case, they may miss something important. However, some items may need longer descriptions.


At this point, you'll be able to select a section of your shop to place your item, although this is optional. It is suggested to add sections to your shop if you carry a variety of items.

The next section is also optional, but can help potential buyers to find your items. If your item is specifically for one type of person (baby, man, woman, etc) then you can select that in the Recipient section. Occasions can be useful too, and I usually select "Weddings". Styles can also be helpful, especially if you're listing anything to do with fashion.

The next section is Tags. These are the keywords that describe your item. When choosing tags, think about how you might search for your item if you were a customer. I try to use up all of the tags as this gives a better chance of buyers finding my items.


After listing your tags, you will then have to list all materials/ingredients. Only 13 can be listed, so if you have more to list, provide a full list of them in the description.

You'll also have to list the price and how many you have available. Because this list is for 500 lotus blossoms, the way I fill out the quantity is a little different. I list how many orders I think I will be able to handle at one time, just in case someone wants to order multiple lots. It almost never happens that someone wants to order more than one of these large orders at a time, but having more than 1 available can reassure the customer that it won't sell out anytime soon.

However, if you only have a set amount of items available for purchase, list just below that amount in case something happens to one of them.


Finally, you'll have to indicate the shipping costs. Shipping profiles can be set up separately, and they are useful if a lot of your items ship the same way and cost the same. In this case, I don't have a shipping profile for this item, so I will do it manually.

I anticipate that it will take me 4-6 weeks to make 500 lotus blossoms if I have other orders in progress. This also gives me time to take a few breaks and time for school, sleep, etc. The processing time you choose should be more than you think it will take, especially for large orders like this. You never know what could happen, so always leave a cushion of time so you can meet the deadline.

Next, you can choose the country from which you will be sending the item (the country that you live in) and where you would like to ship to. I ship everywhere, but the cost of shipping within Canada and to the United States is different than the rest of the world.

Estimate the cost of shipping and include how much it would cost to add another item to the box. Because of the way I estimated the shipping, nothing else will fit into the boxes, so I will have to use another box.

If you're not ready to ship international, you can click the X in the Everywhere Else section. Everywhere Else literally means everywhere else. However, if you would only like to ship to certain other countries, you can use the "Select a Location" button to choose specific ones.

There is also an option to add shipping upgrades. These can be express shipping, tracked shipping, etc. In that section, you will enter how much more it will cost to ship items differently.

When you're ready, click "Preview Listing"


You'll then come to a screen that looks like this. It is a preview of what your listing will look like to buyers. The section at the top right shows the first photo that buyers will see, and you can adjust the position of it there. At the top left, you can either Publish your listing if everything looks good, or you can Edit it if you need to change or rearrange something. 

When you click Publish, $0.20 will be added to your bill.  Keep this in mind when you're listing items.

Hopefully this has helped some of you! I know the process is quite simple, but sometimes it's helpful to see someone else do it first.

The listing process is different for everyone, so the way you list your items may be a little different.

Thanks for reading!

-Moréna
Team Leader

Thursday, June 26, 2014

New Sellers Guidebook: Packaging Large Items

Every item in my Etsy shop is shipped in a box. Paper flowers are delicate and I am always very careful about how I package them. However, damages can still occur and I will talk more about that in a separate post.

From my experience, the postal systems around the world are very reliable and have treated my packages with care, with a few exceptions. Here is how I package my flowers, not only to help minimize the possibility of damages, but also to make a first great impression. I've also included prices for each part of the packaging to show that great packaging doesn't have to be expensive!


I had an order for two Origami and Spiral Bouquets recently. There are somewhat lightweight, but as you can see from the pointed petals of the flowers, they are be quite delicate. The problem I have with these bouquets specifically is that the points bend very easily. They can just as easily be smoothed out and bent back into place, but I try to minimize this in shipping.


I start by assembling a cardboard box and lining the bottom with bubble wrap. I prefer to buy packing boxes because the sides are free from labels, there isn't a weird smell inside, and most importantly: the size I need is always available. This helps so much when determining shipping costs! I love the idea of using free boxes from grocery stores and I did that for my first several orders, but the selection isn't always the same. Sometimes I would find the perfect box, only to find that it smelled like old cheese. Other times, the boxes wouldn't have lids or they'd have gaping holes in the bottoms. Liquor store boxes are even better because they do some with lids, but the dimensions don't work too well with what I ship. If you can find boxes that are perfect for shipping for free, definitely use them.

Cost: $1.77 for the box, plus $0.05 for the piece of bubble wrap.


Next, I cover the bubble wrap in coloured tissue. I try to match the wedding colours as best I can, but when the colours are white, ivory, or cream, I choose a deep, rich colour to contrast.

Cost: $0.05 for the piece of tissue paper


Before placing the bouquet in the box, I cover the flower portion with several pieces of tissue paper and I tie it around the handle of the bouquet. This will add cushion against the delicate petals of the flowers and protect it from the sides of the box. As you can see, two bouquets won't fit in this box.

Cost: $0.12 for the tissue, $0.00 for the gold ribbon I had laying around.


I assembled another box of the same size to ship the other bouquet in. My other choice was to ship them both in a larger box, but here are my reasons for shipping them separately: larger boxes cost more to ship than separate smaller boxes, and the extra space in the larger box would give more room for the bouquets to move around and possibly be damaged slightly.

Cost: $1.77 for additional box, $0.12 for tissue, $0.00 for spare ribbon


Normally, I would stuff the open spaces with more tissue, but I had some newsprint paper from a purse I recently purchased. I try to re-use packaging as often as I can and this was one of those times! It's light, creates volume and fills in all of the spaces.

Cost: $0.00 for newsprint


I then place another sheet of tissue on top to create a flat surface and to cover the newsprint.

Cost: $0.03 for the piece of tissue paper


For the first box, I include care instructions for the bouquets, a free gift (handmade gift tags), a small repair kit, and a thank you card, and a business card. I place all of these inside an envelope.

I won't include the cost of these items as it is completely up to you how many 'extras' you'd like to add.


Here is the first box packaged completely!


The second one has the receipt and a promotional card. The receipt should always be included with orders.

Cost: approximately $0.05 to print the receipt using an inkjet colour printer.


Here's a photo of the thank you note and the receipt. I think that personally writing something on the receipts is a nice touch, even if it's just to say thank you! I made sure to mention that the bouquets were shipped separately.


Finally, I tape up the box, and add a return address label. I'm not opposed to hand writing the customer's name and address on the box, but I think that adding a printed label adds a nice touch and a level of professionalism. 

I always do a 'test shake' of the box before I ship it. I gently move it around in my hands and feel for any movement in the box. Sometimes I turn them upside down for good measure. Both of these didn't have any movement inside at all, so they're good to go!

Cost: $0.20 for tape

Total packaging cost: $4.16, or approximately $2 per box.

Not a bad price for secure and clean packaging! This number will of course be a lot lower if you use free boxes or tissue paper left over from gifts or past purchases. 

Make sure that when you add/write the address on the top of the box that you leave ample space for the shipping label. Whether you print your own shipping labels or fill them out at the post office, the bottom third of the box should have room for it.

And that's it! Hopefully this has helped some of you who are shipping large items.

If you have any questions, comments, or something you'd like to add to this post, leave it in a comment below.

-Moréna
Team Leader

 
Images by Freepik